Hello everyone! First of all I want to say thank you for all of the comments, responses and support I have received from my post about my grand baby CJ. Your support is appreciated more than you know. I also ask for your continued prayers in this journey for my family.
—-
I’m back today with my other cards I created in part of the #Cards4Love event hosted by CraftbyTwo. You may remember my Thanks “Snow Much” Snowman cards I created in this post here.
As I did with the Snowman card I used the Print and Cut option in Design Space and my Cricut Explore. All of the images are from Create a Critter 2 cartridge. {{{Totally love}}}
To take them to another level I love to doodle and shade my projects as well as enhance their cute little faces with eyelashes, cheeks and extra pizzaz.
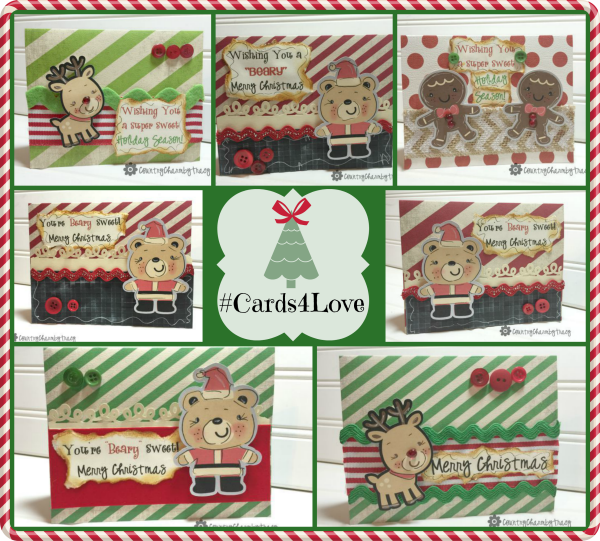
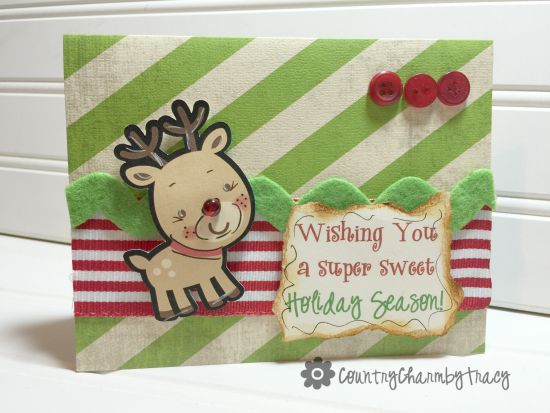
I just love how this little reindeer card turned out. I added a red skittle for his nose, red/white striped ribbon and green rick rac on the card. Buttons tie the card together giving it a complete country Christmas feel.
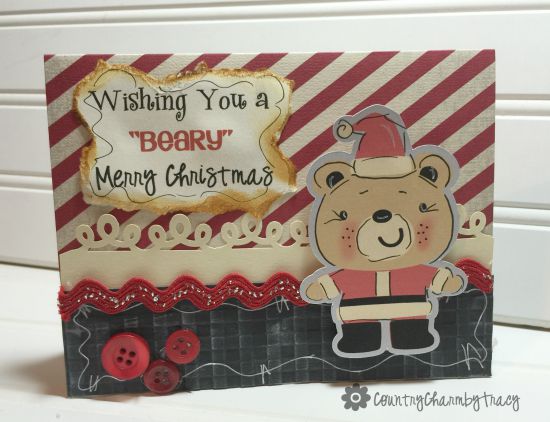
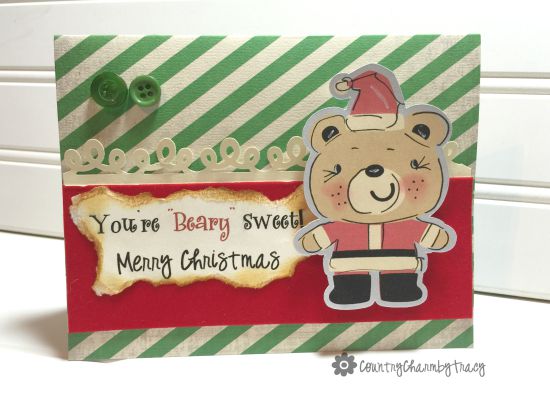
I totally fell in love with the bear from Create a Critter 2. His sweet smile is so cute and I know some of the children at St. Jude’s Research Hospital are going to love him just the same. These cards are blank inside so the patients can write their own thank you note for caregivers.
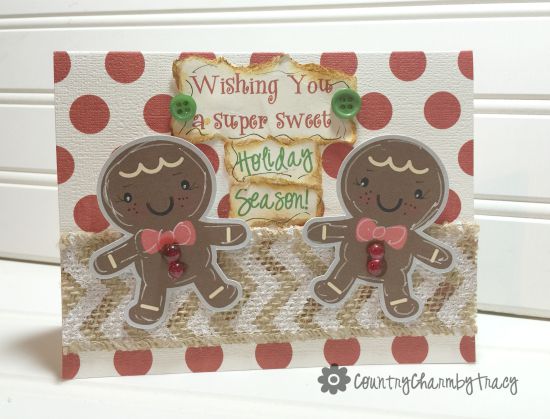
Who doesn’t love gingerbread men? The red skittles provide the added touch to these sweet little guys. I just used some burlap/white chevron ribbon on the card too.
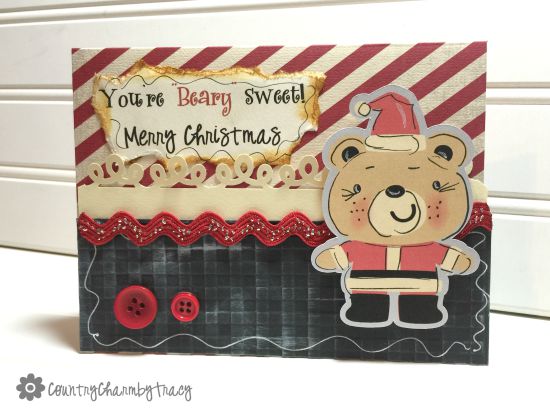
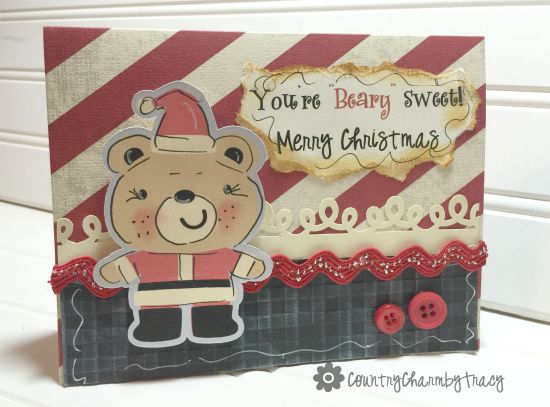
The same bear but a different card. I used my newest Cuttlebug folder Gingham to create the embossed look. I enhanced it with white ink. The purchased the red rick rac with glitter already on it. So cute!
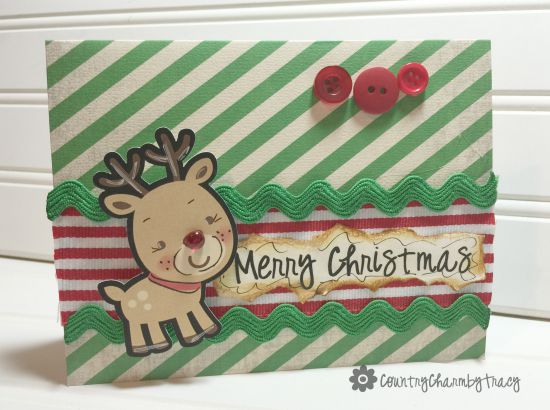
This one has the sweet little reindeer and red/white striped ribbon but I added some green rick rac on the top and bottom. The red nose is a skittle jewel.
This little bear is sitting on felt cardstock. I just cut pieces to fit the card.
I love using the ready made cards with envelopes from The Paper Studio found at Hobby Lobby. Most of these cards are from the Circus Stripe box set.
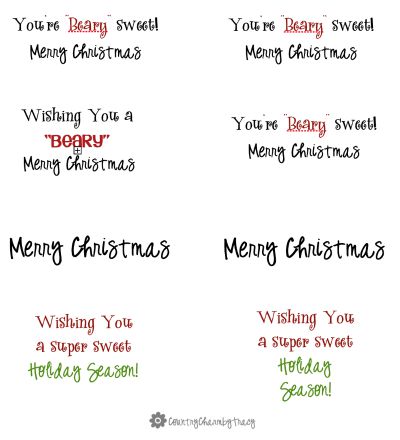
For the sentiments I created them on my computer and printed them out. To give the rustic look I tore around each edge and used my Tea Dye distress ink for the edges.
I’ve included the pdf below if you would like to print out and use these sentiments yourself.
(personal use only please)
Download here:
Related Posts
Make sure and follow me on YouTube, Facebook, Instagram and Pinterest for more Crafty Ideas!!
