

{Wooden Bunny Chocolate Spring Wreath}

I've been up to my elbows in deco mesh, ribbon and embellishments to create Spring themed wreaths for the store. I've been trying to keep each one unique and original and really enjoy coming up with different designs. I do like to add my own touches and keep them a little bit country and whimsical. That's me!
Today's project tutorial is centered about this beauty. I thought that as I would design this wreath I would snap a few photos and show you a bit of the process. So fun!
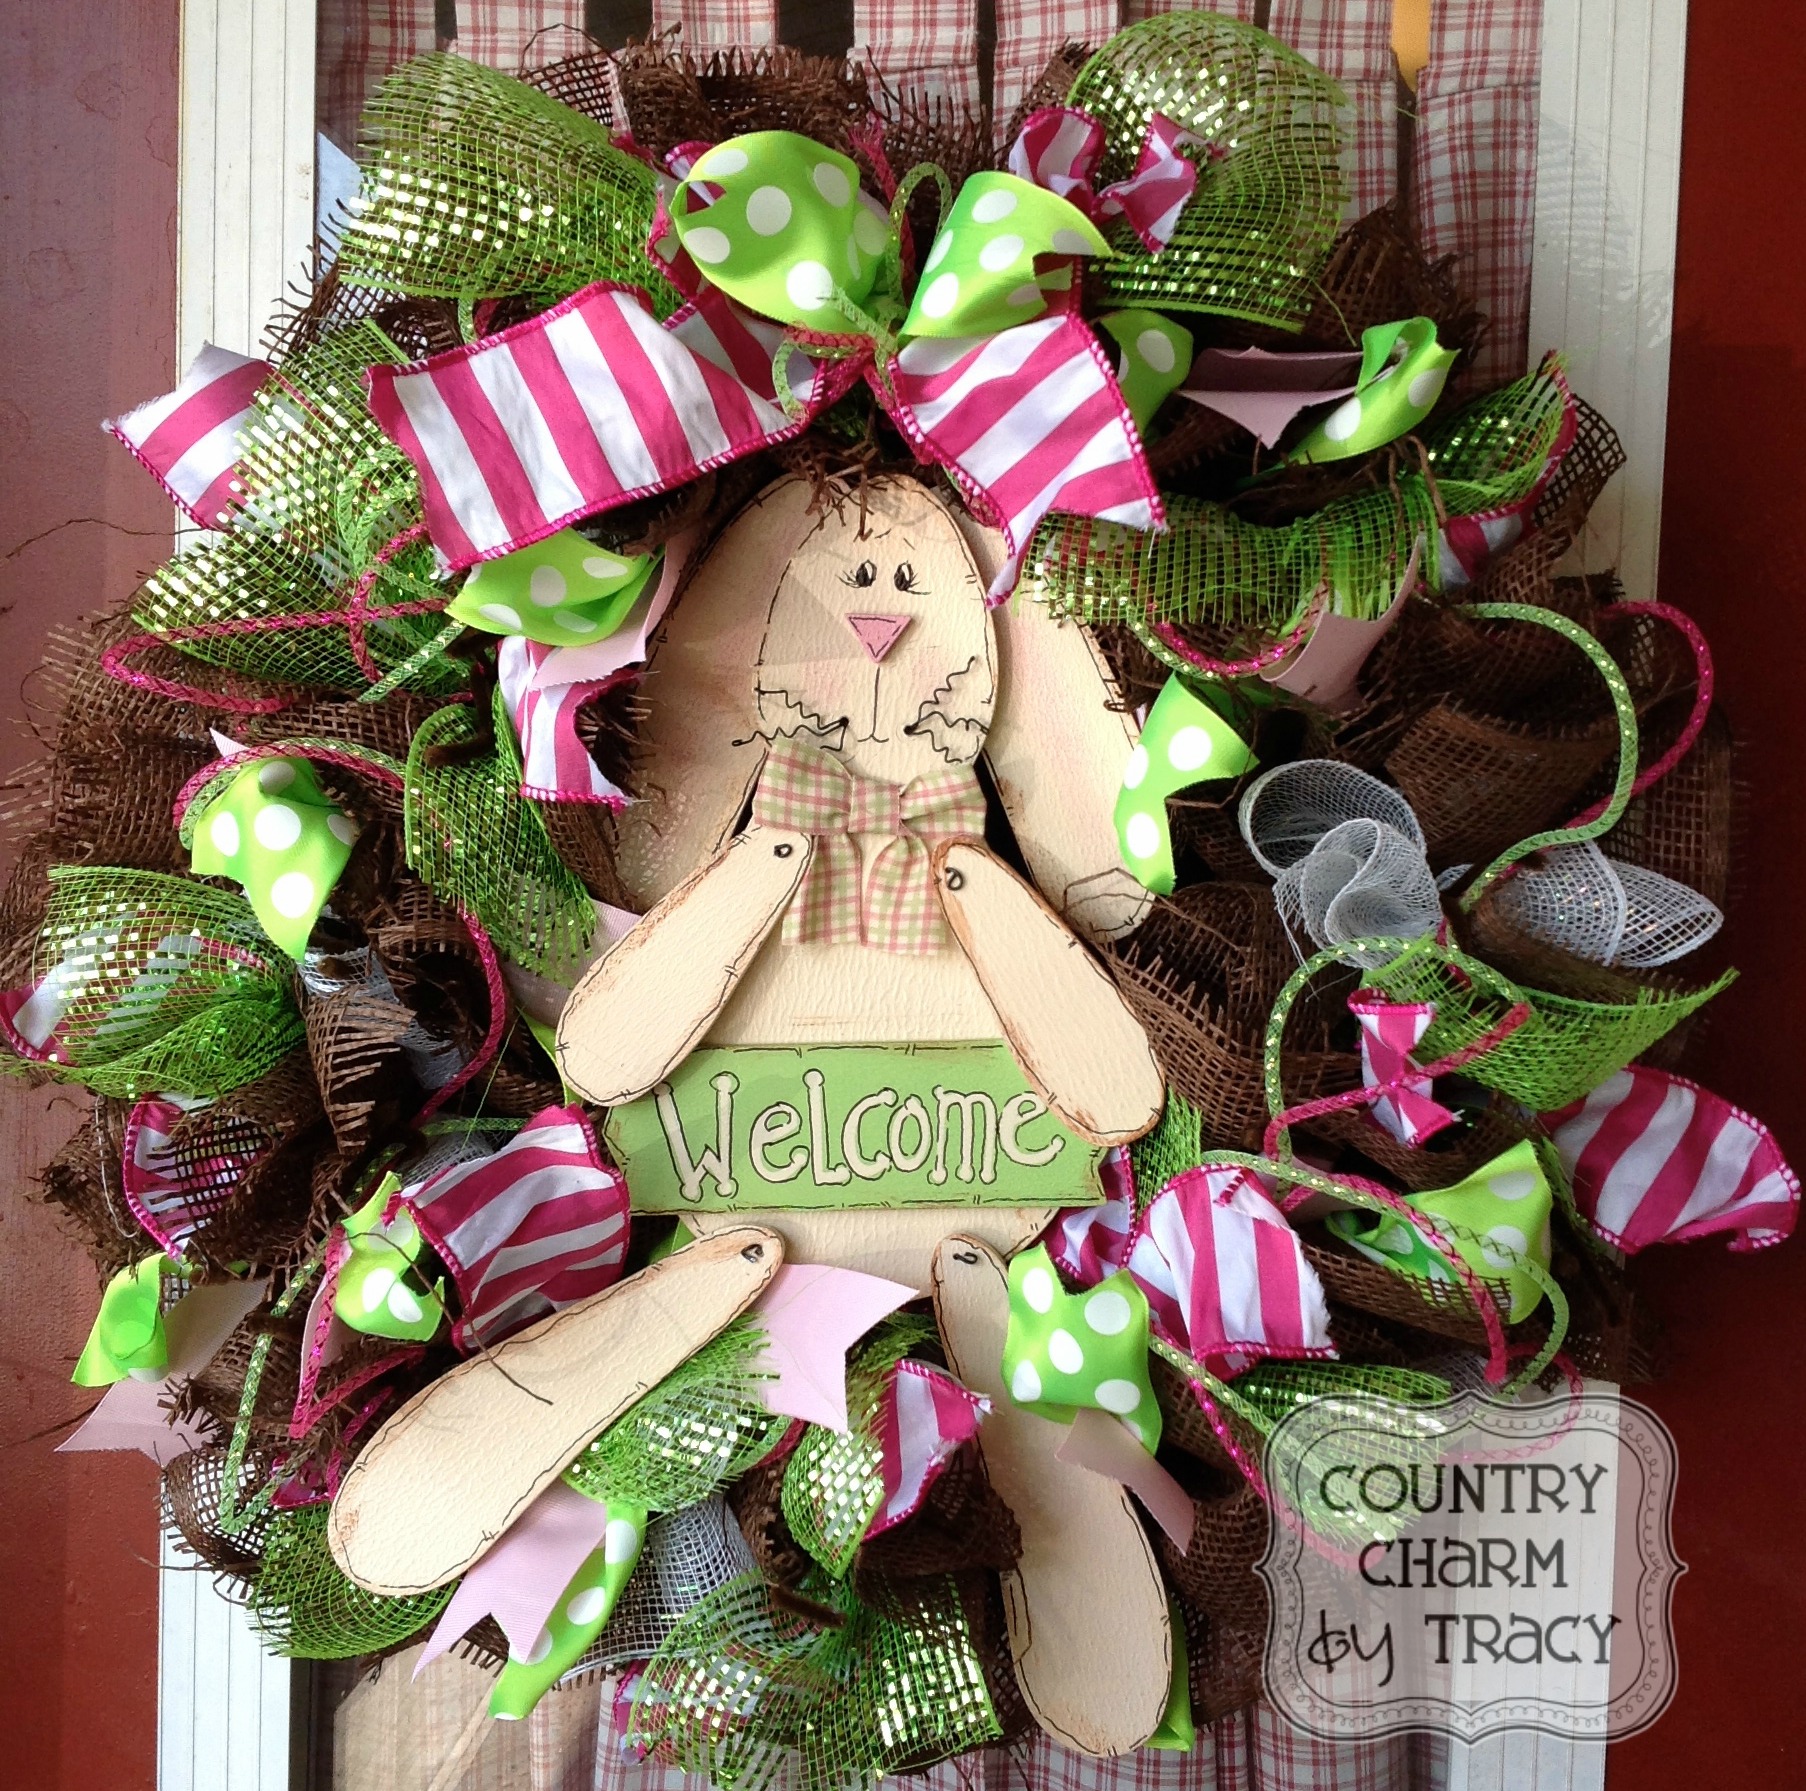
Supplies:
● 16" wire wreath form (like this one)
● 1 roll chocolate brown deco mesh
● brown chenille stems
● ribbons (pink/white striped, green/white polka dot, light pink grosgrain)
● green shimmer and white deco mesh
● green and pink tubing
● wooden bunny (I used one from Hobby Lobby)
● screw eye hooks (4)

1. I started by cutting the brown deco mesh at 10 inches
2. I cut it in half again at 10 inches. I now have two pieces
3. Gather center into a "ruffle".
4. Layer "ruffles" onto wire wreath. Securing with chenille stems.
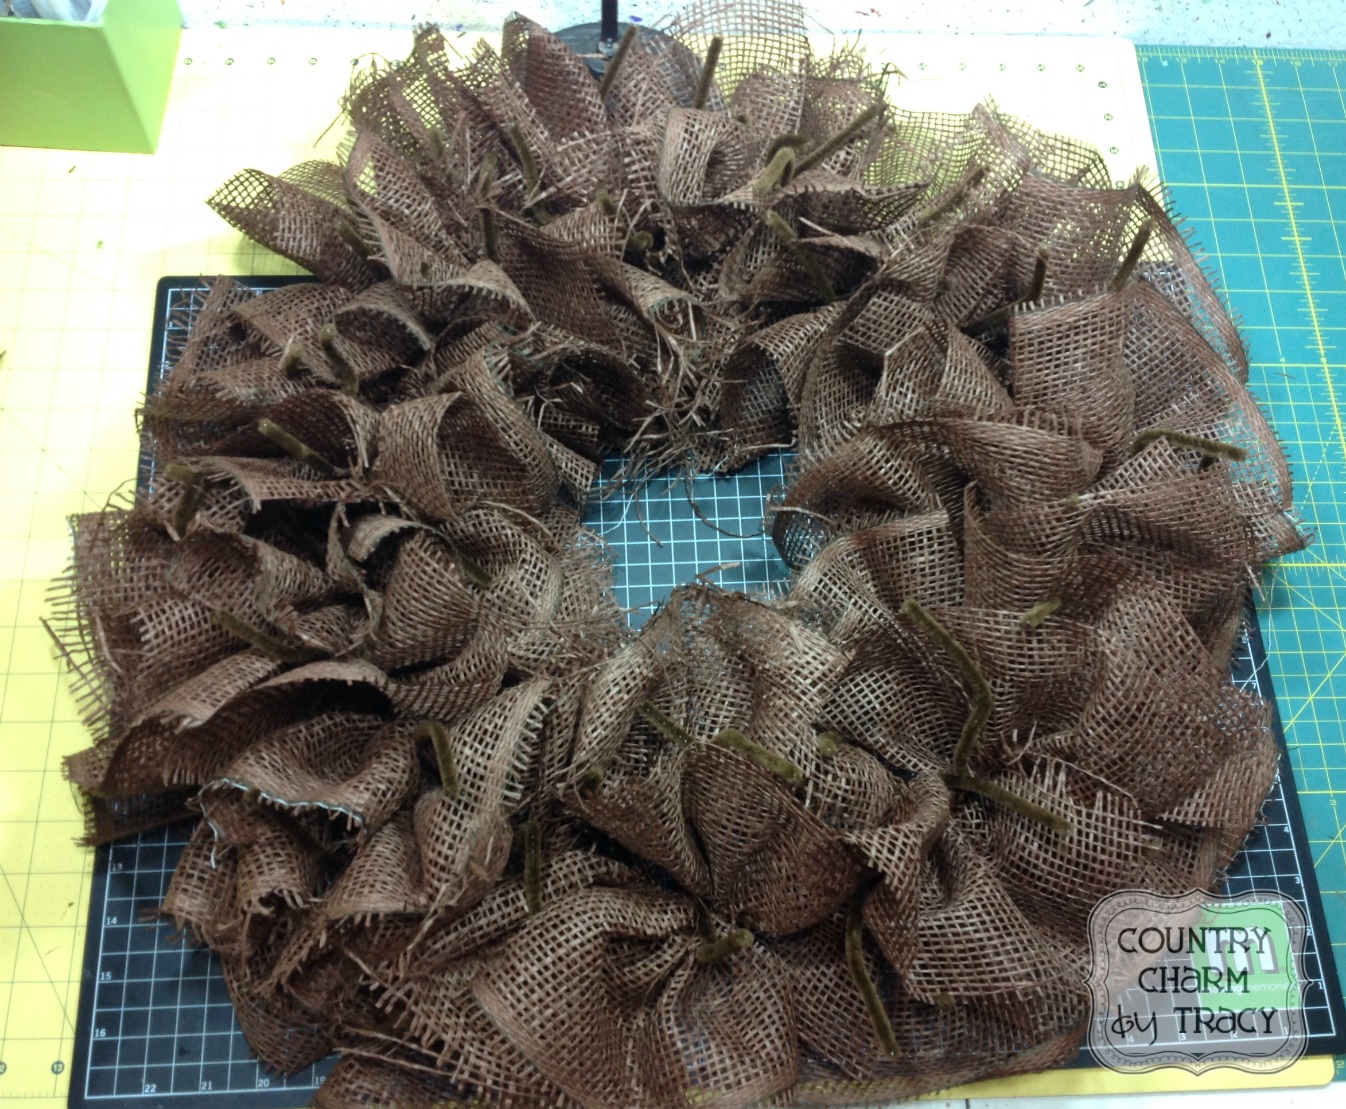
1 roll of chocolate deco mesh fills up the 16" wire wreath form.

I think these ribbons just scream SPRING. Don't you? :)
It's easier to cut all ribbons so you can pick up and work into your wreath as you go along.
● I cut all ribbons at 10" (dove tailing the ends aka make a V - looks nicer)
● green deco mesh - cut at 10"
● white deco mesh cut at 6"and rolled up individually (see bottom/last picture for clearer idea)

Add green and pink tubing looping about the wreath. Securing with already imbedded chenille stems.
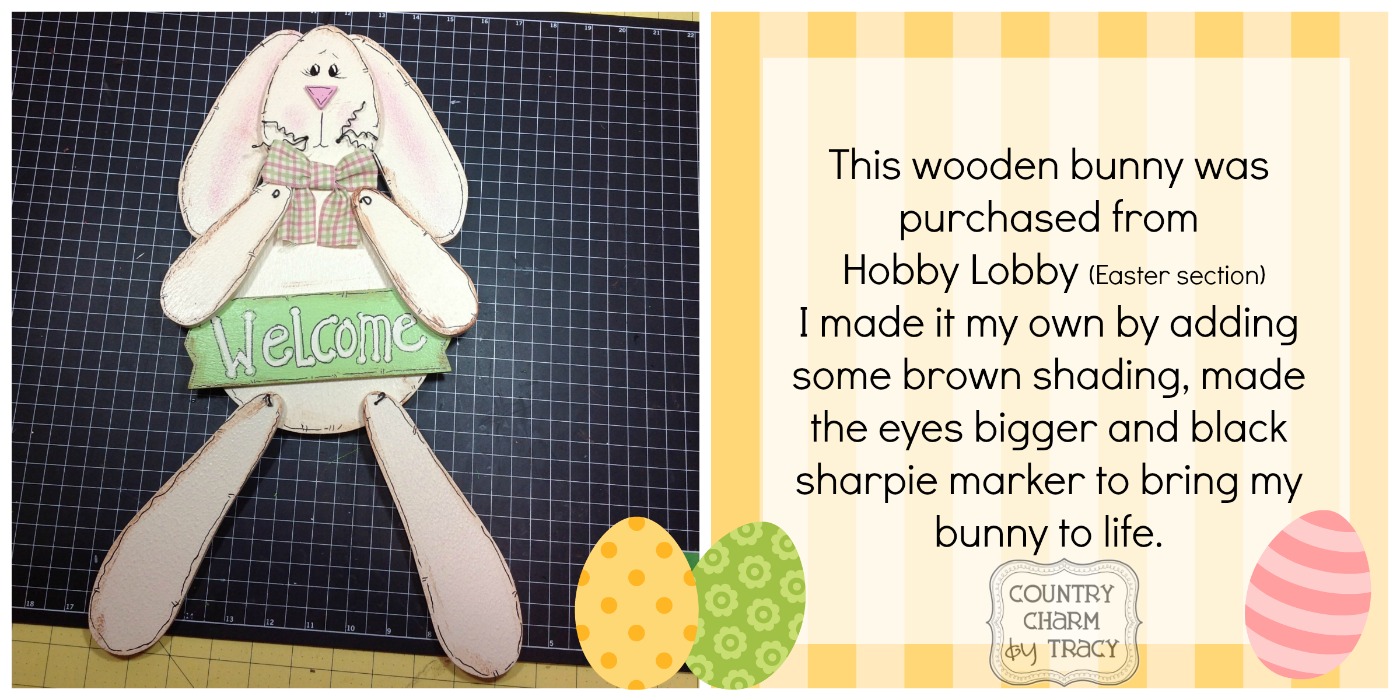
Purchasing painted wooden embellishments can really help speed up the wreath making process.
It was 40% off - score!
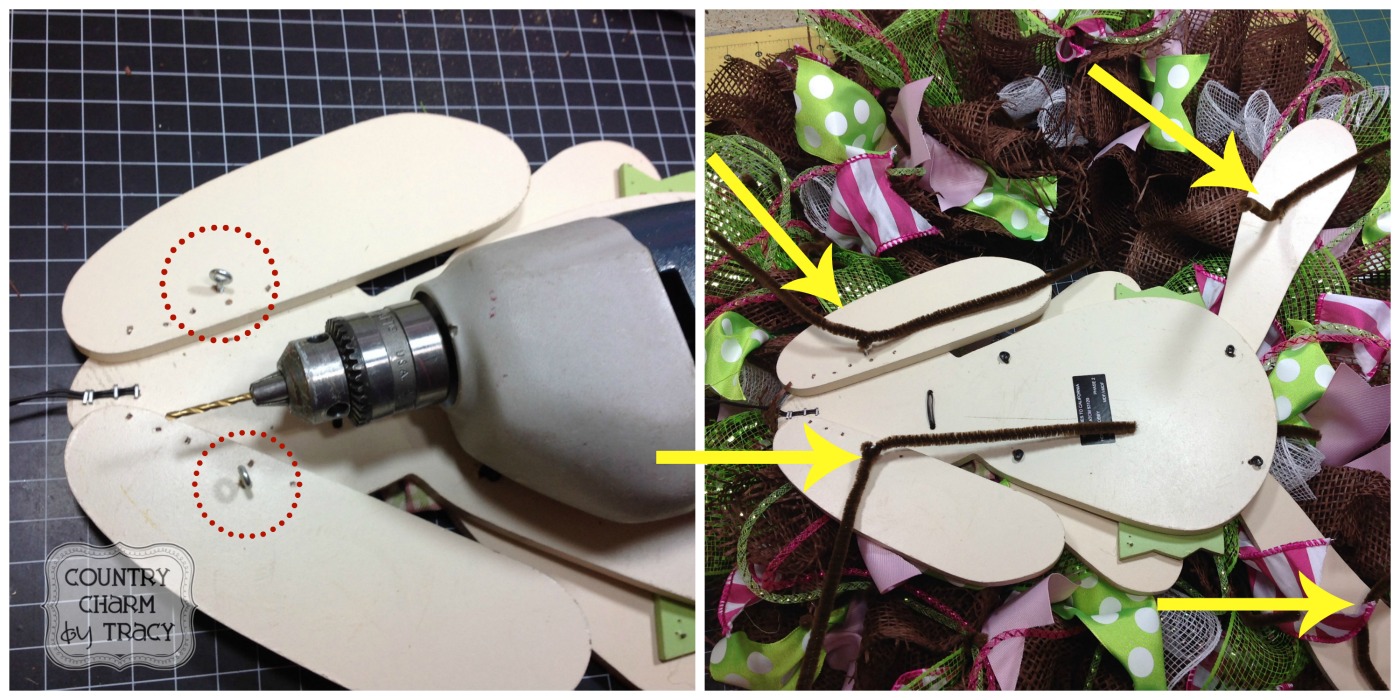
Attach wood bunny to wreath using 4 screw eye hooks and chenille stems.
Add this wreath to your front door, back door, home, office or anywhere in between.
This little guy will surely bring a smile to all your visitor's faces.

