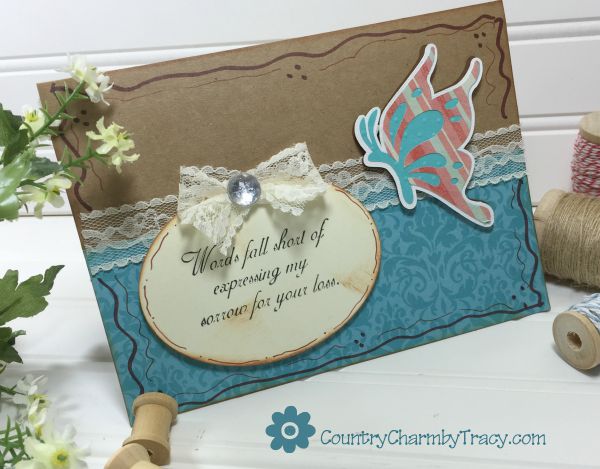
I am in the process of replenishing my stash of handmade cards and needed to get some sympathy cards created. I have had some friends that have lost loved ones recently and really want to send a thoughtful card to them.

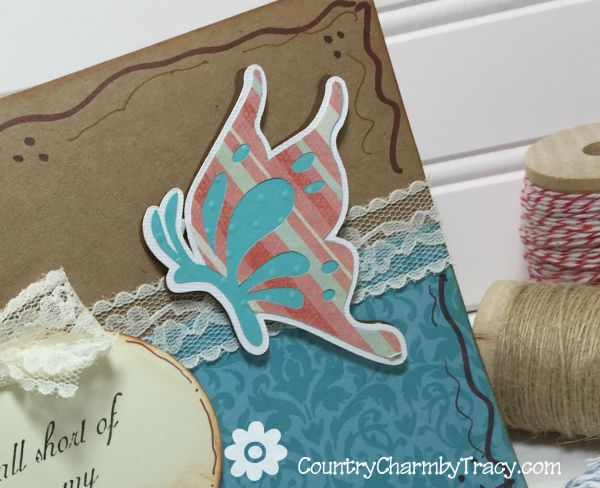
This is my first project cut (the butterfly) I created using my new Cricut Explore machine. WooHoo — I have had it for a while but just needed to sit down and learn what it does. I am a visual learner and started by watching a ton of YouTube videos to get started and will share those with you below. I appreciate the talented crafters who take the time to teach us through video and blog posts.

{this post contains affiliate links ~ all opinions are 100% mine}
Materials:
– 5 x 7 Kraft cards and envelopes
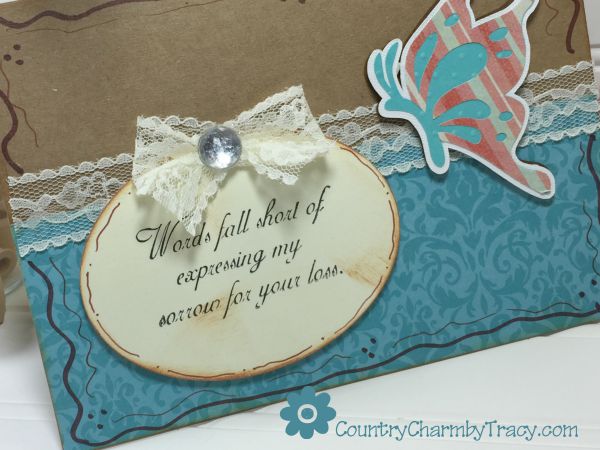
– Sentiment from Sympathy & Courage by My Pink Stamper
– scrapbook paper
– cardstock
– lace ribbon
– brown ink
– brown markers and brown gel pen
– cuttlebug swiss dots embossing folder
– Sizzix oval framelit dies – large oval
– bling gem stones
– pop dots for sentiment and butterfly
My favorite adhesive to use when gluing down ribbon to my cards is Fabri-tac. Love this stuff! Easy to use and dries quick!

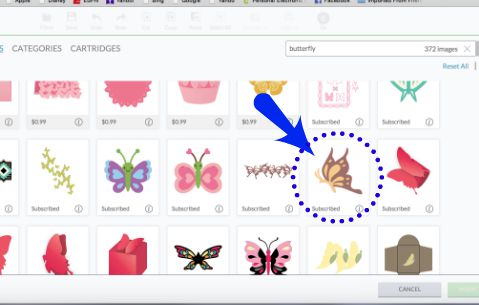
The butterfly is cut at 2.75 inches all three layers (Image Search: #M40685 Classroom June & July)
Announcement
I am thrilled to say that I am now a Cricut affiliate. What that means is that may have links to Cricut products used on my projects and if my readers click on the link I may be compensated. I will only share products that I use. Read my full disclosure here. All opinions are 100% mine.

Helpful Cricut Explore videos on YouTube:

Related Posts
Make sure and follow me on YouTube, Facebook, Instagram and Pinterest for more Crafty Ideas!!


