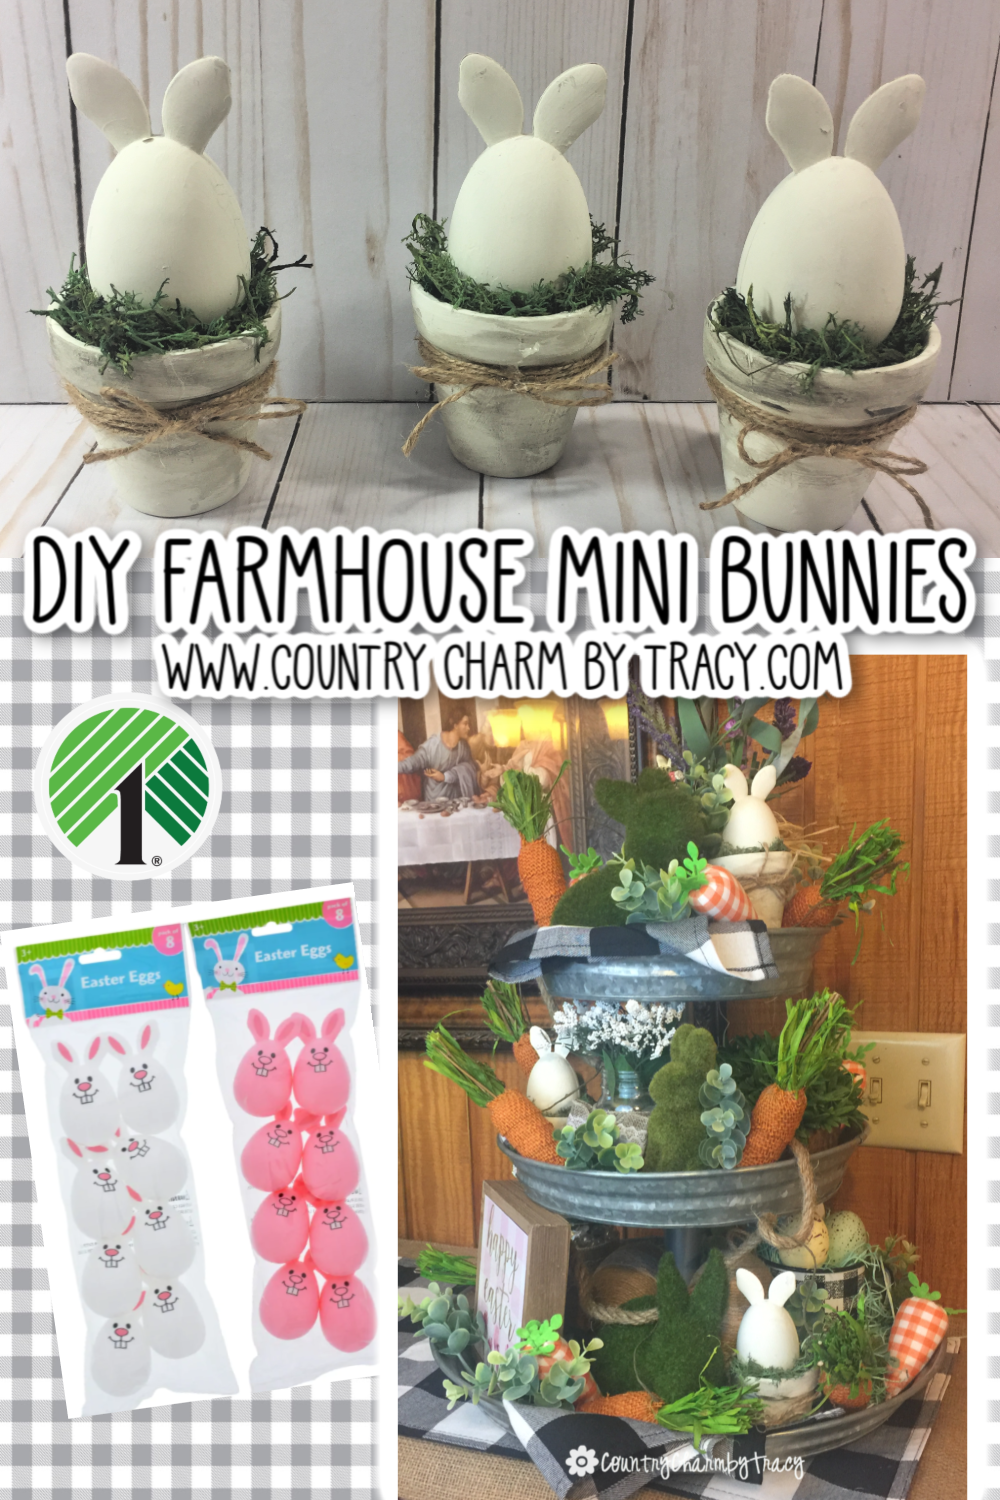
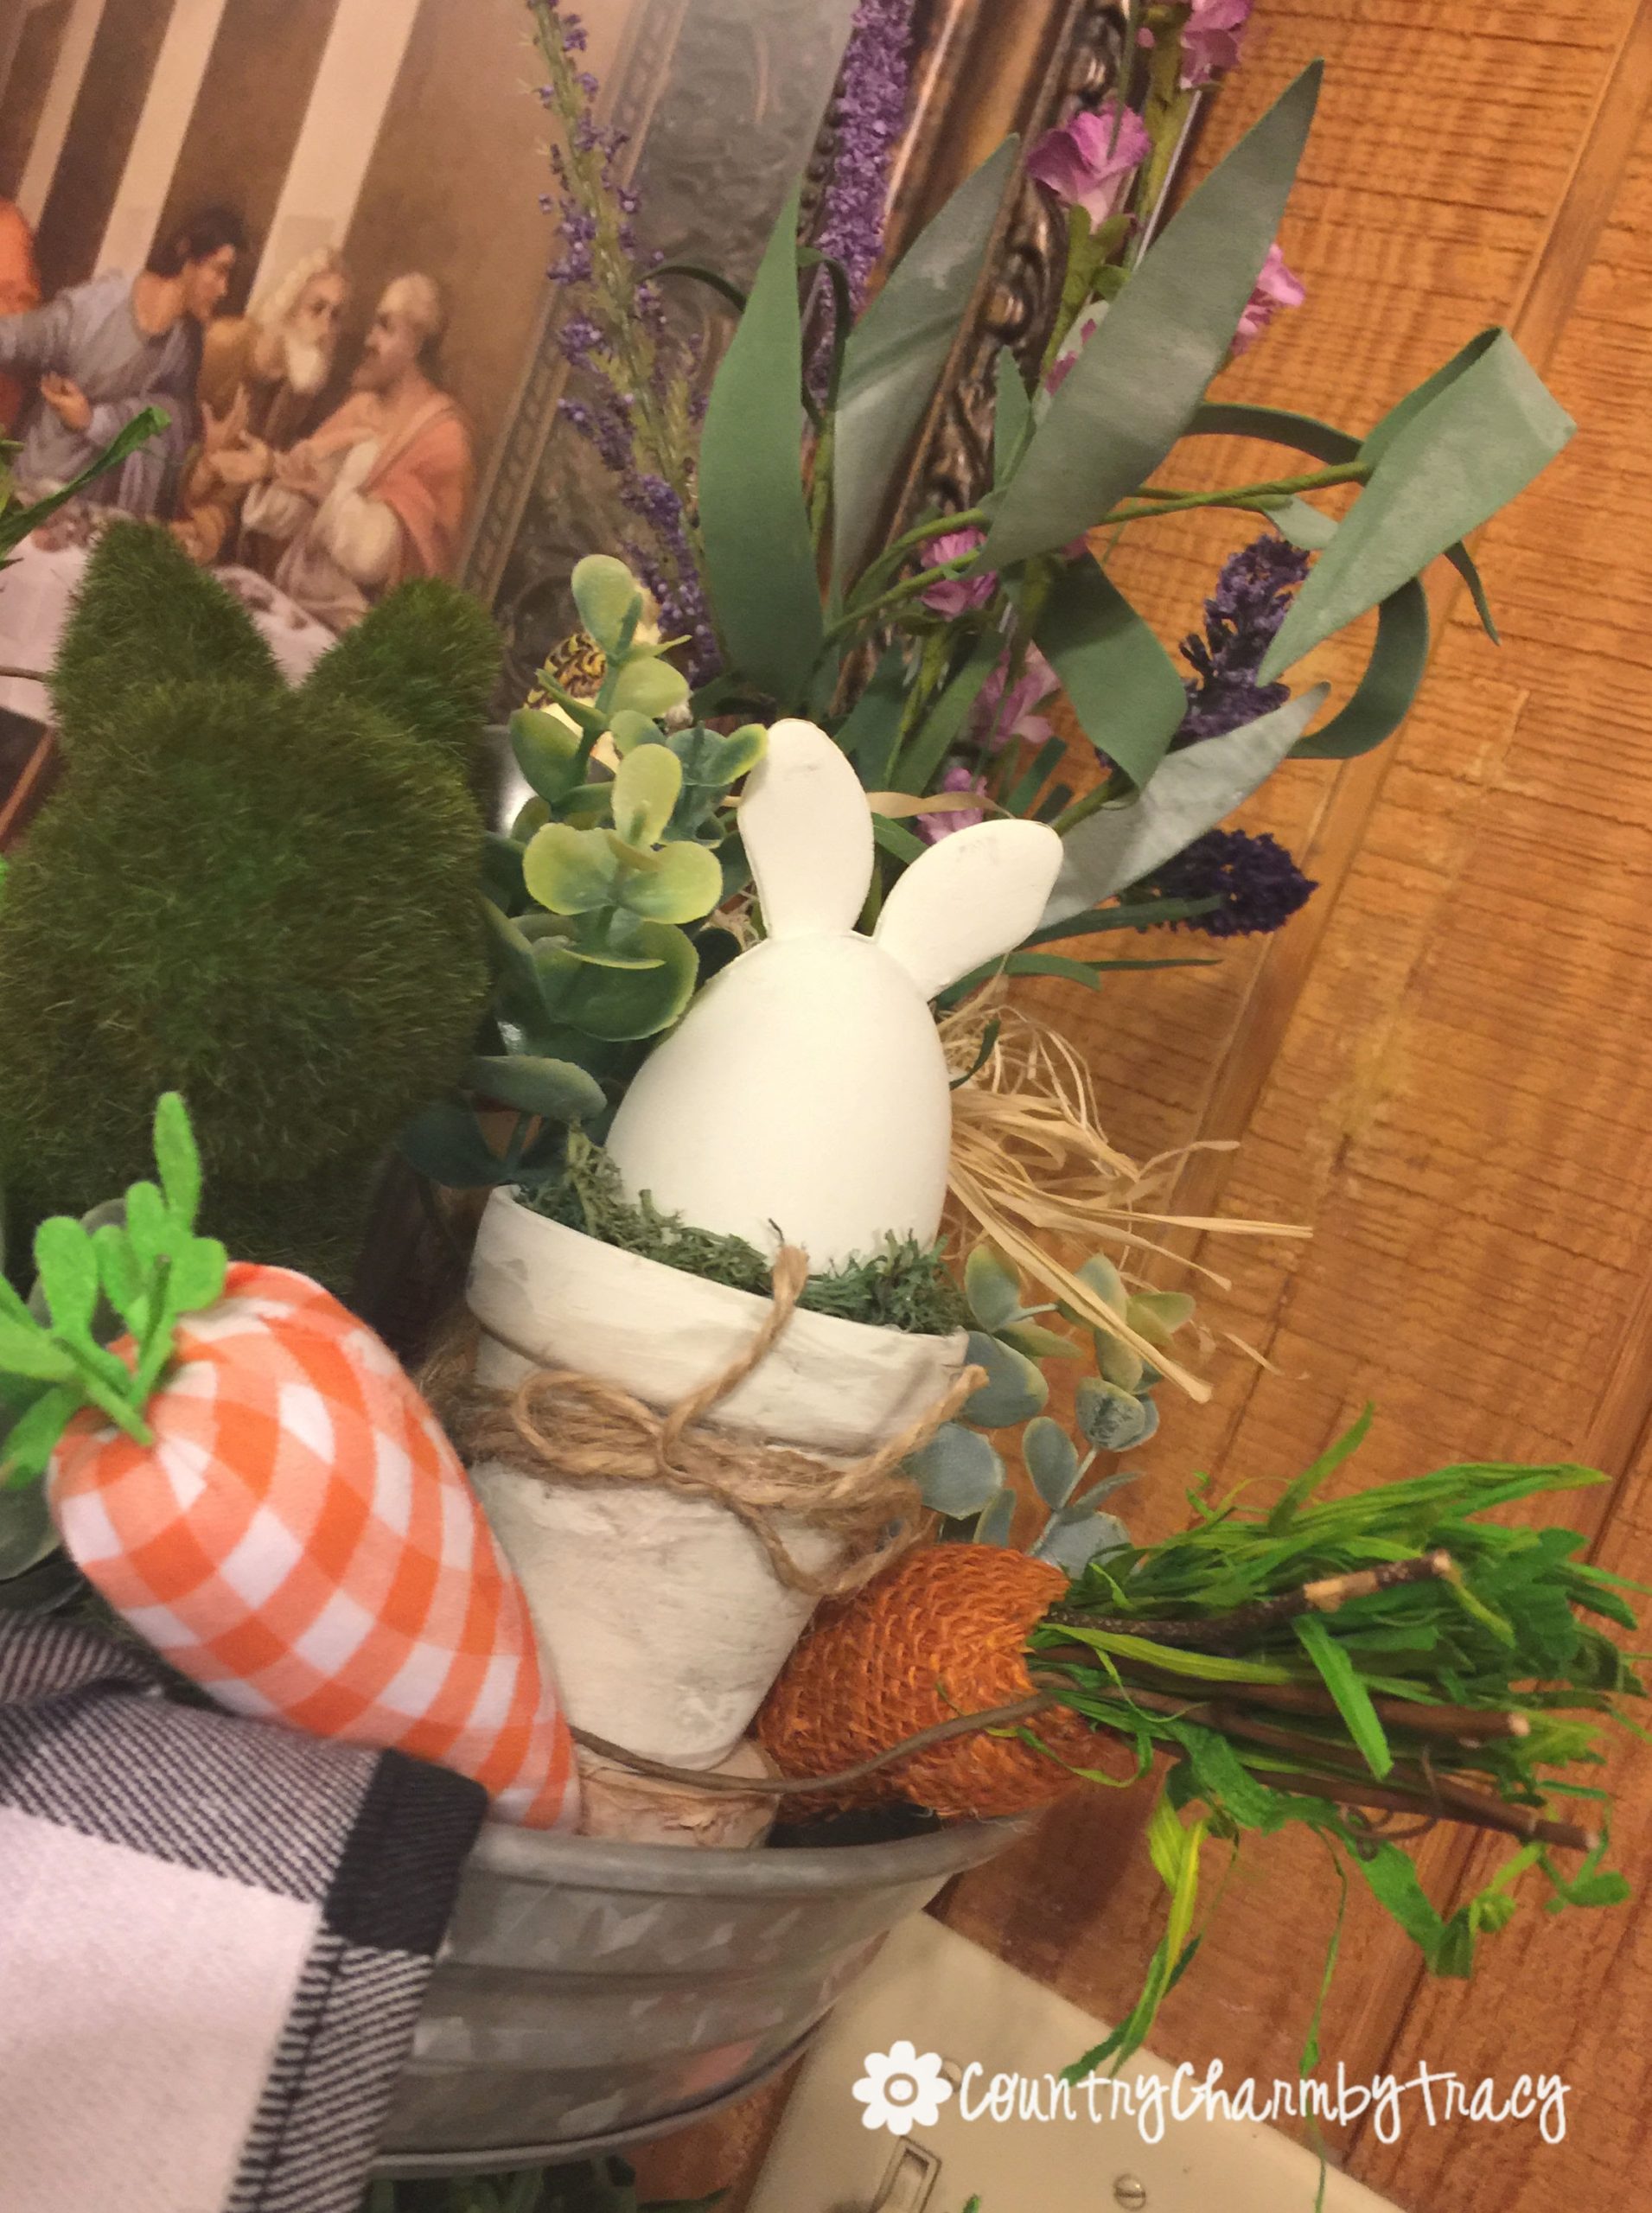
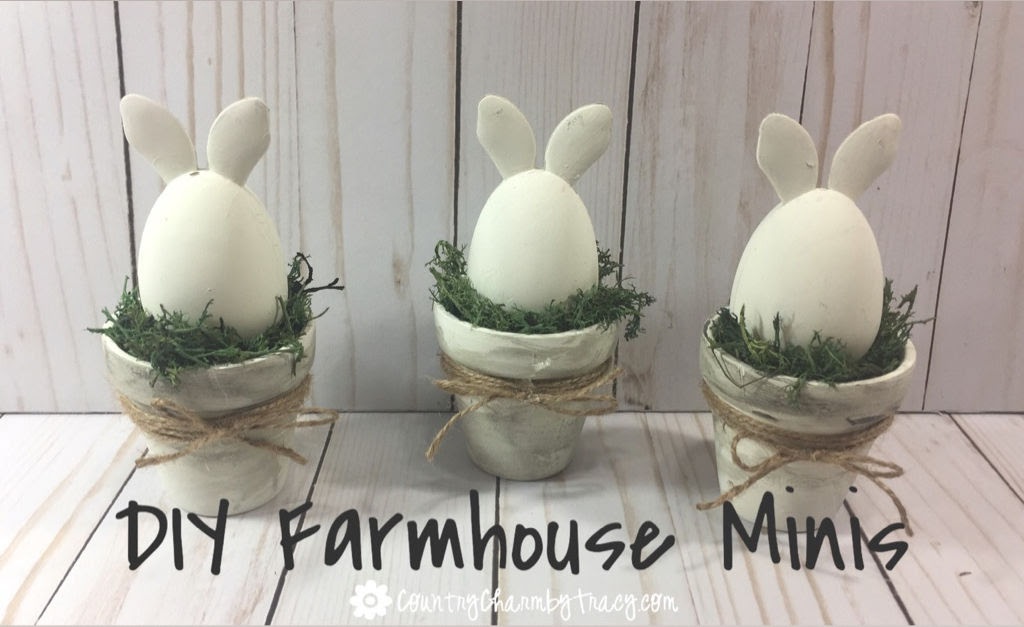
Hello sweet friend! I’m so happy you stopped by to read how I did these ADORABLE mini bunny pots.
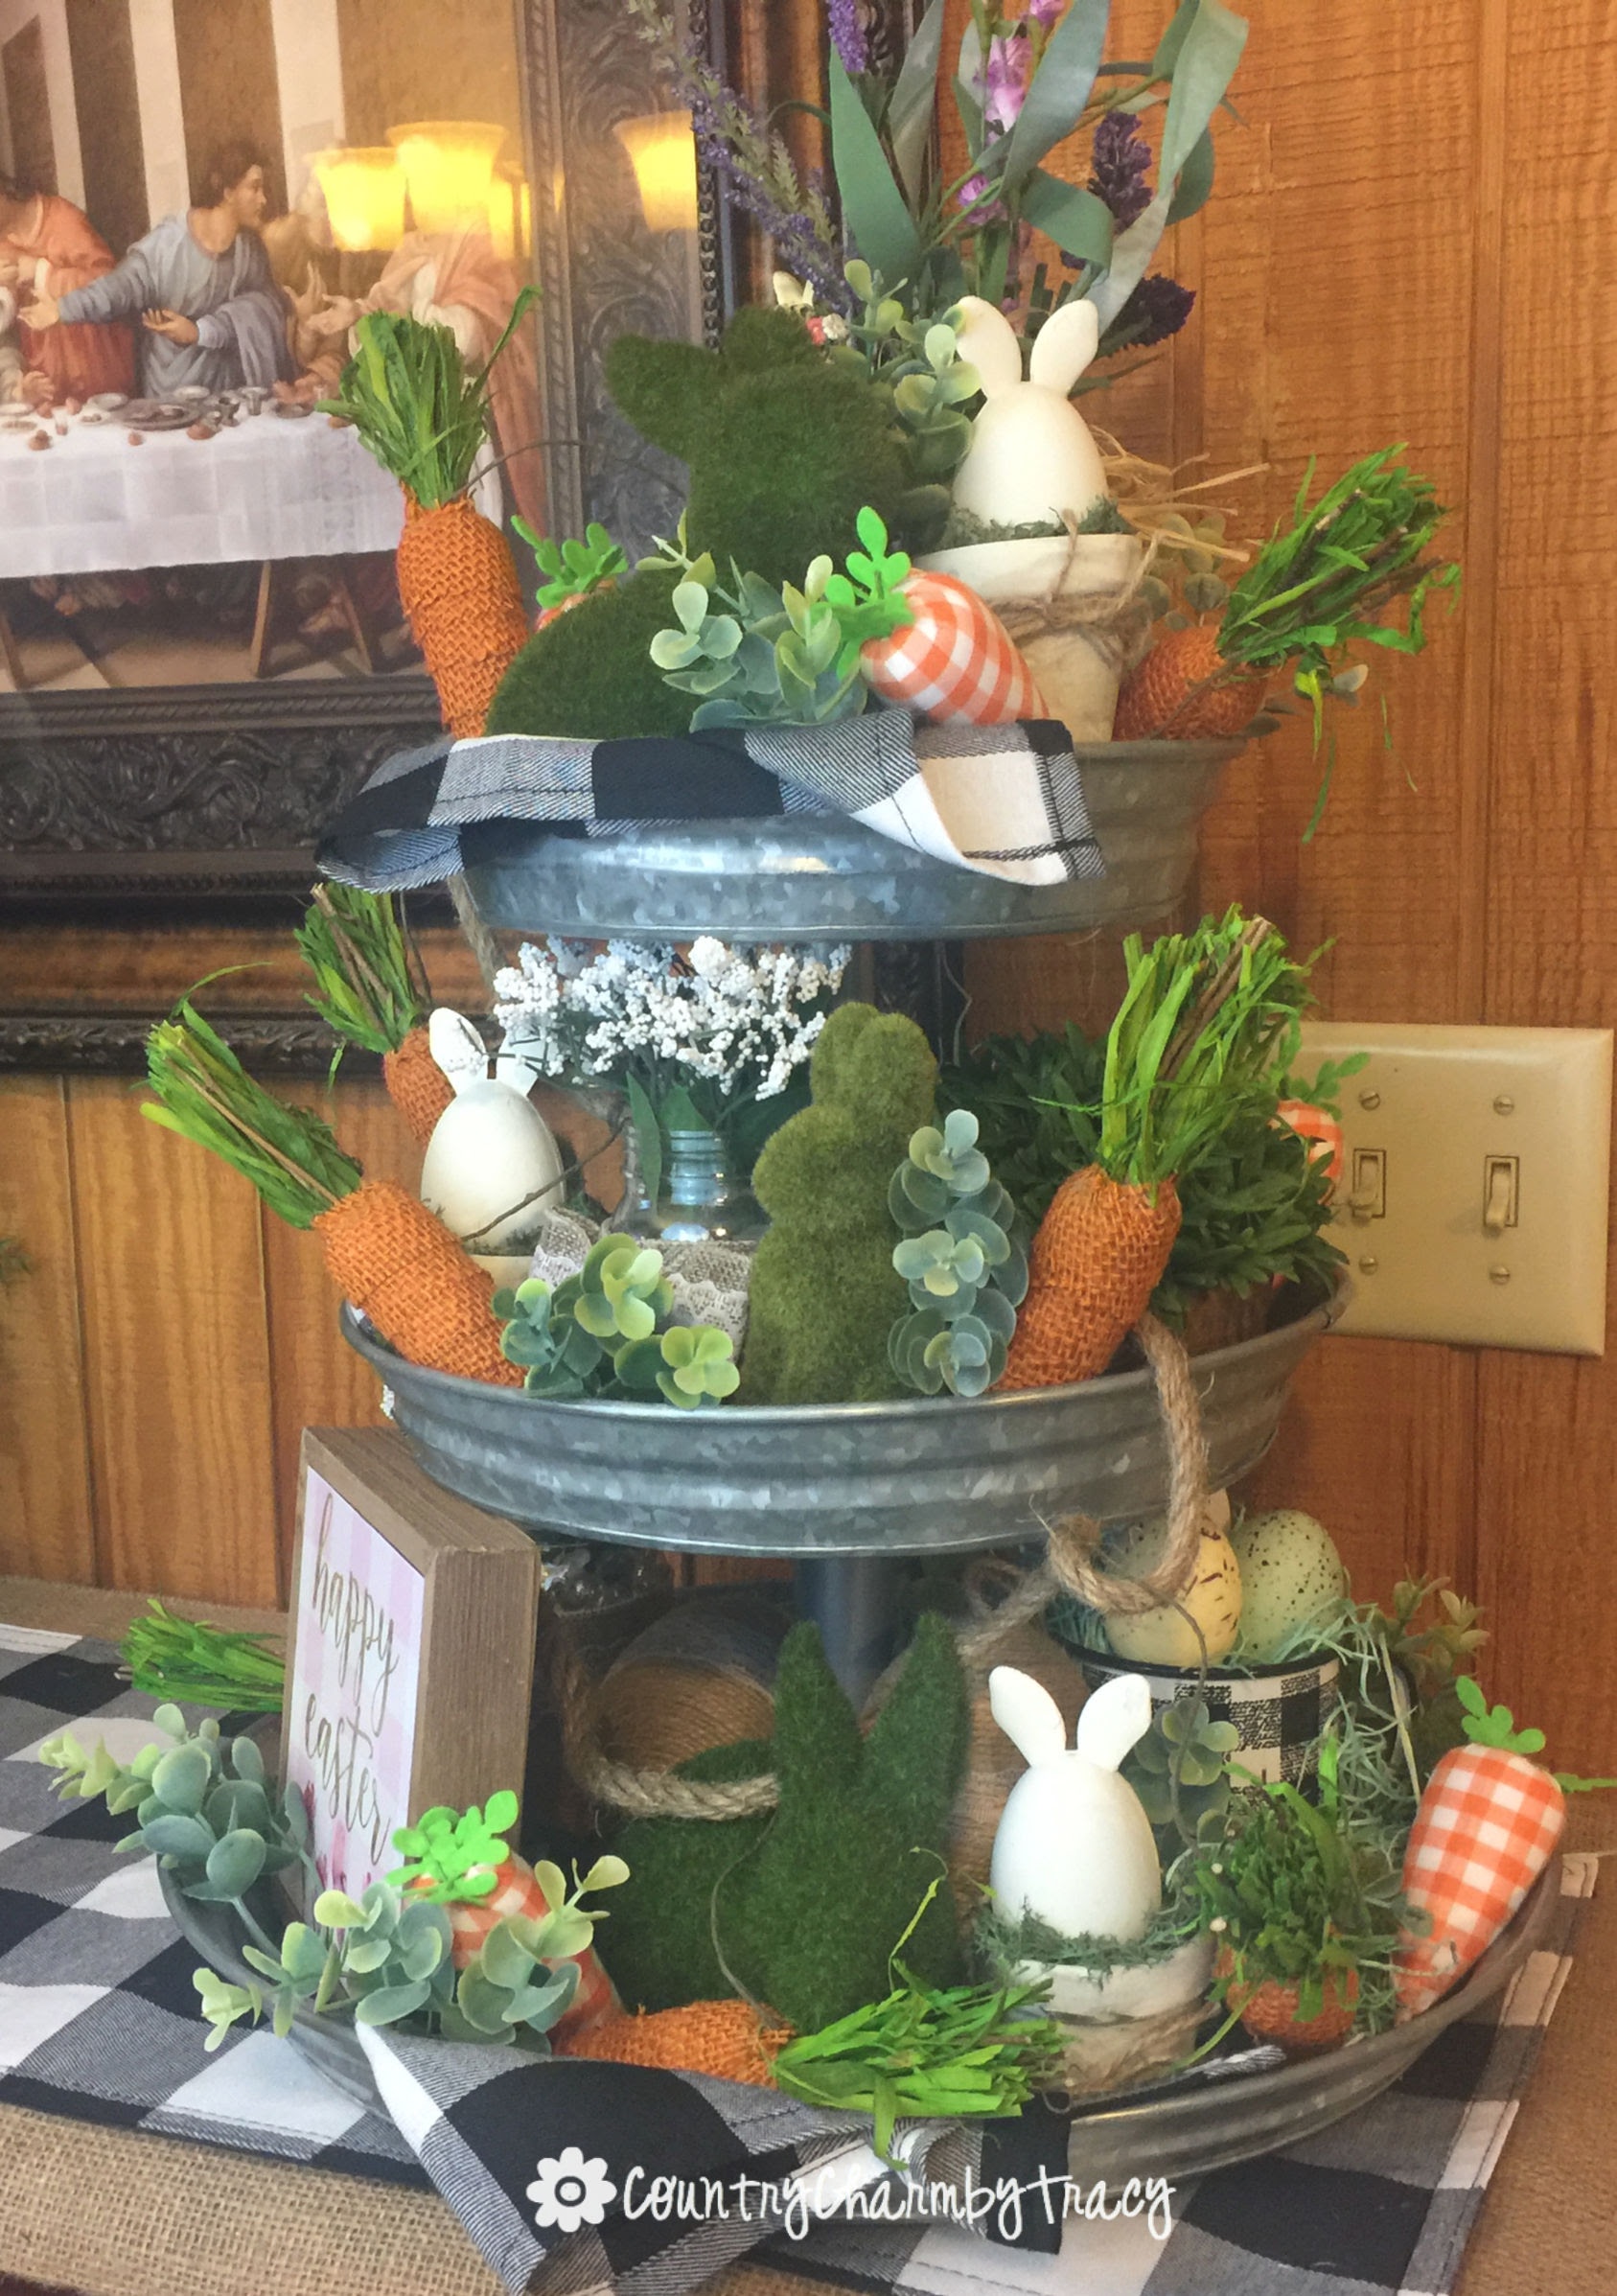
They look SO cute on my Spring 3-Tiered Tray.
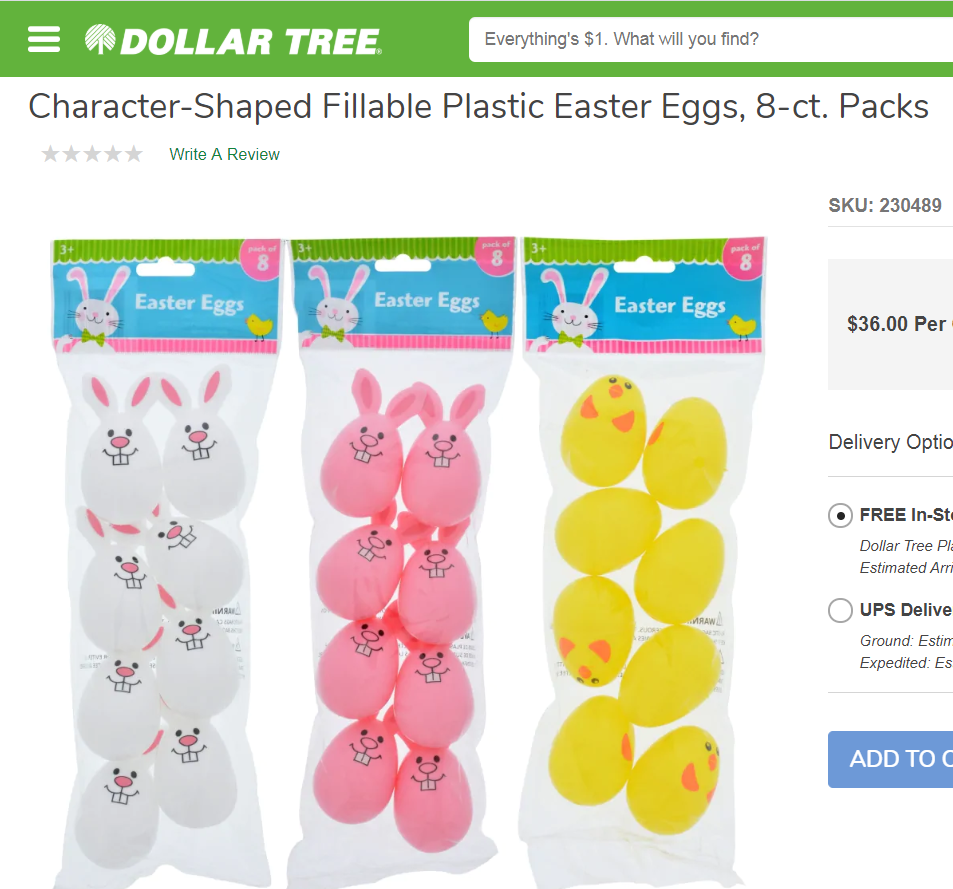
Have you seen these CUTE little eggs at the Dollar Tree?! They are adorable as they are but I’m going to show you how I changed them match farmhouse decor.
- clay pots
- plastic Easter eggs with bunny ears
- chalk paint
- Waverly – Plaster
- Waverly – Mineral
- paint brush
- reindeer moss
- hot glue
- jute rope/twine
- finger nail polish remover
- clothespins
- cotton balls
I started by using some finger nail polish remover to take off faces of plastic eggs. I used a clothespin to clip on one ear to hold while I painted the egg. I slide the clothes pin on tin can to help hold them up until they dried. I put 2 coats of paint on each egg.
While my eggs were drying, I painted my clay pots with 2 coats of chalk paint. I painted about a 1/2 inch down inside the clay pot just in case the moss doesn’t cover the inside.
I added then added some distressing to each pot with my finger dipped in Mineral chalk paint. This can also be achieved with a stencil brush or sponge. You can see how I used my finger at this point in the video here.
Once those were all dry I put some hot glue inside the clay pot and added a bit of reindeer moss. I made a little “nest” or hole with the moss, so that my egg bunny could sit inside the pot.
I hot glued the bunny on the moss, securing it in place.
I wrapped jute twine several times around the put and made a two-loop bow. Gluing it in place.
CUTE BUNNIES to add to my three tier tray – click here to see how I put it together and how I added the bunnies into my farmhouse decor.
See how I made these SUPER CUTE BUNNIES by watching below or clicking here to watch on YouTube.


Make sure and follow me on YouTube, Facebook, Instagram and Pinterest for more Crafty Ideas!!
Thanks friends!!
Related Posts
Make sure and follow me on YouTube, Facebook, Instagram and Pinterest for more Crafty Ideas!!
