Even though the calendar says its fall — it feels more like winter here in south east Texas. Brrr….the most recent arctic blast delivered lower colder temperatures that we are just not used to in my area. Hello winter!
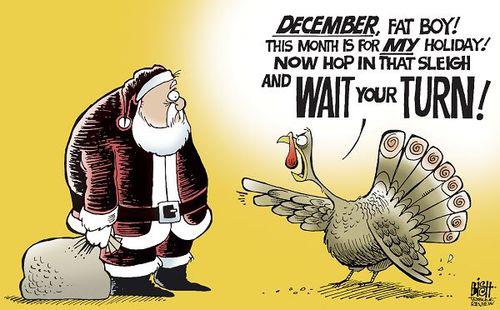
Needless to say we have Thanksgiving around the corner and that does mean it is still the fall season. I remember back in time when you would see Christmas decorations in October now we see them in May or June. I understand that the craft stores want to give crafters or designers time to get their holiday decorations made to sell during the season but geez….I feel there is no excitement of seeing all of the Christmas decor in the stores anymore
I saw this little comic on the web a few weeks ago and I think it sums up what a lot of people may be feeling. Thanksgiving before Christmas. LOL
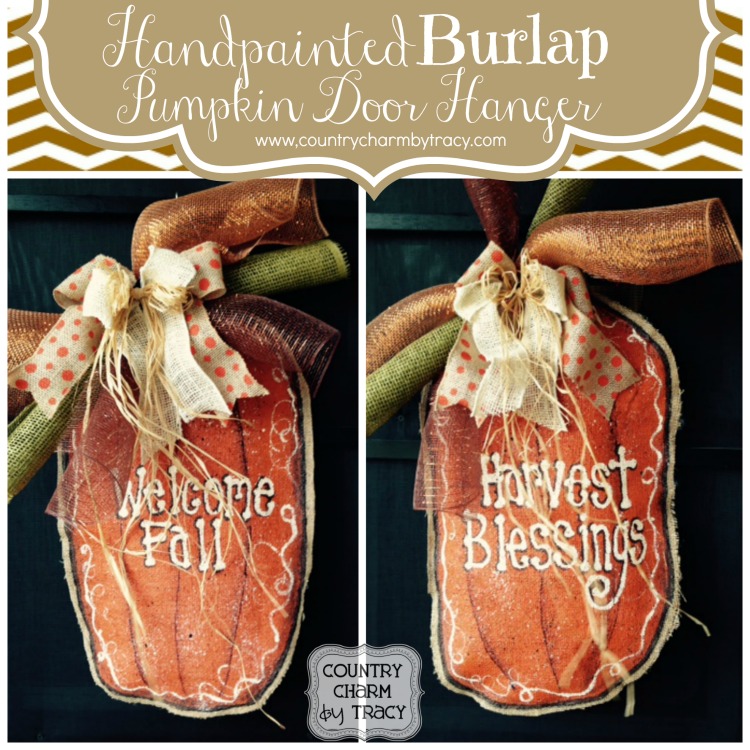
My first love of crafting is painting. Cutsey tole painting using acrylic paints. My surface of choice is wood but recently I have been painting on burlap and canvas. When I started seeing these cute burlap door hangers float across pinterest I had to try it.
For this project I used the following:
1/2 yard burlap
pumpkin pattern
mod podge
orange, brown, antique white paint
black marker
glossy sealer
parchment paper
deco mesh in fall colors, burlap ribbon, raffia
chenille stem
wire or string
plastic bags or stuffing
hot glue
I drew an oblong pumpkin pattern using cardstock. I just taped 2 12×12 pieces together and hand drew a shape I liked. I cut that out with scissors and then laid out the double layer of burlap on my table tracing around the pattern on the burlap with a sharpie marker.
I put a piece of parchment paper in between the layers of my burlap because the mod podge and paint will soak through. Parchment paper does not stick to the painted burlap as newspaper or freezer paper will. I
Using a paint brush I put on a coat of mod podge. You don’t have to use mod podge but I like the stiffness it brings to my door hanger. It also adds an extra layer of coating to the door hanger and therefore I only need to use one coat of paint. also find the paint does not soak through as much with the layer of mod podge.
I don’t even let the mod podge dry I just proceed with my paint directly on top the wet mod podge. This is when I put it to the side to dry. It takes a couple of hours for the door hanger to completely dry with the paint. Sometimes I even leave it overnight to really set.
Once my pumpkin was completely dry I added my personal touches of shading and doodling to cutsey up this pumpkin. I then painted Happy Fall and Harvest Blessings using my paintbrush. It’s taken me many years of practice to get to write the way I like it with a paintbrush. Don’t give up and using a flat brush is best for writing for me.
Once my pumpkin was completely dry I cut it out leaving a 1/4 inch edge. I like the say it gives the pumpkin a rustic look. I just like it.
Using my hot glue gun I work with one section at a time. Gluing and adding stuffing (or plastic bags can be used to stuff). I find that using clothespins to clamp around my project as I hot glue works good to hold my burlap in place and keeps me on track.
Once finished with gluing I add a wire hanger so it can be hung on a door. I use my crop-a-dile to punch two holes in the top of the pumpkin. Thread wire through and twist to secure.
To add the bow I cut about a 5 inch piece of deco mesh in various fall colors (I used three colors in this project), gathering in the middle I secure them with the chenille stem all together. I added more burlap ribbons and raffia to my bow topping too.
I have tried to explain the best way I could but if you have any questions or need clarification please send me an email or leave a comment below and I’ll get back to you.
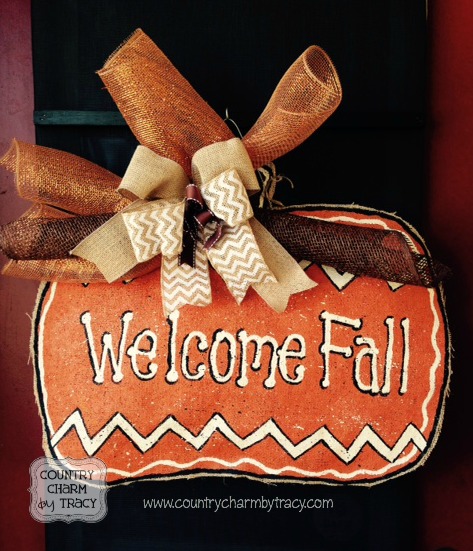
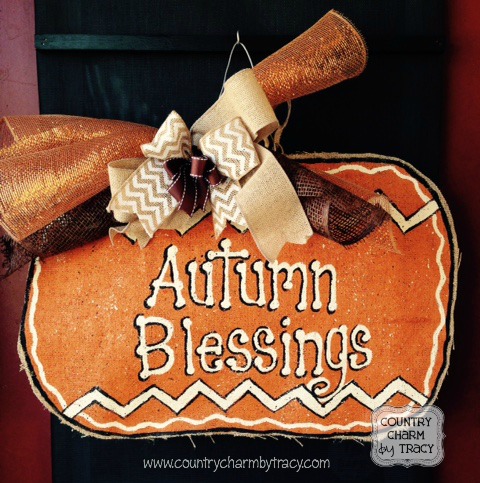
Here are a couple of larger pumpkins I painted up this year too.
Sharing with some of these linky parties this week!
Happy Fall!
Related Posts
Make sure and follow me on YouTube, Facebook, Instagram and Pinterest for more Crafty Ideas!!
