I am in total Spring crafting and decorating mode and have been putting my paintbrushes to work.
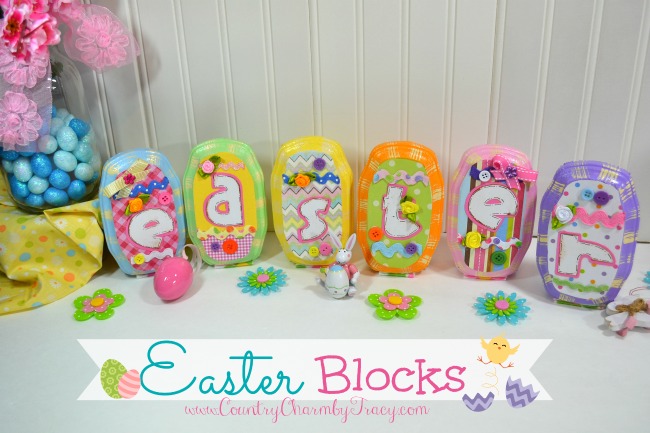
I just love how these Easter blocks turned out. ♥
I had these wooden plaques I purchased on sale from Michael’s many years ago. Like so many years that I can’t even remember. They were on sale for like 29 cents (yes, that long ago and the sticker was still on them) and I bought a whole bunch…putting them in my stash to be used “one day”. Do you have any of those crafting supplies laying around? Things you will use one day? 😀
The wooden plaques I used are the first one in the top row. Sorry I didn’t take the before supplies and during pictures. Sometimes I get so involved in the project I forget to take pictures of the process.
I thought this shape would work great for an easter egg. I had my hubby cut off a bit on one side to make it sit flat.
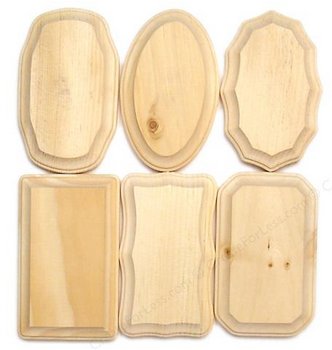 Photo from Create for Less
Supplies:
♥ wooden plaques
♥ Americana paint
♥ scrapbook paper
♥ embellishments (buttons, ribbon flowers, bling)
♥ ribbon & ric rack
♥ easter letters are cut from Robotz cricut cartridge
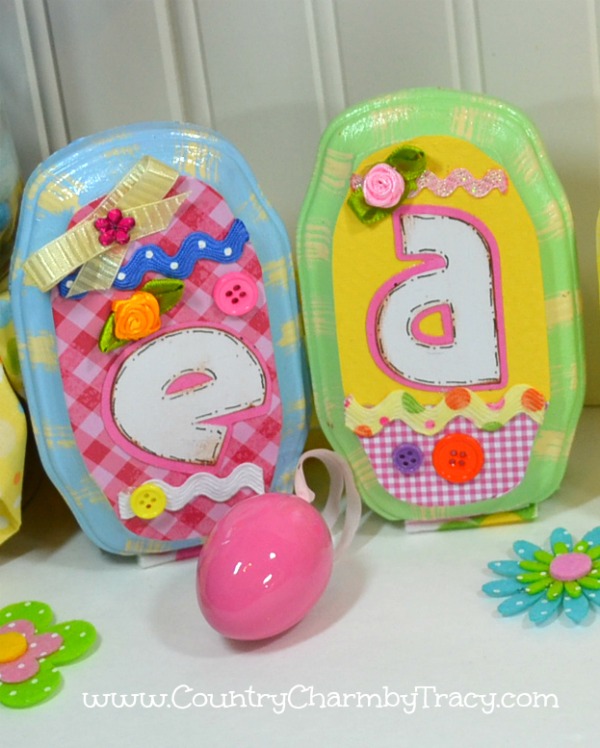
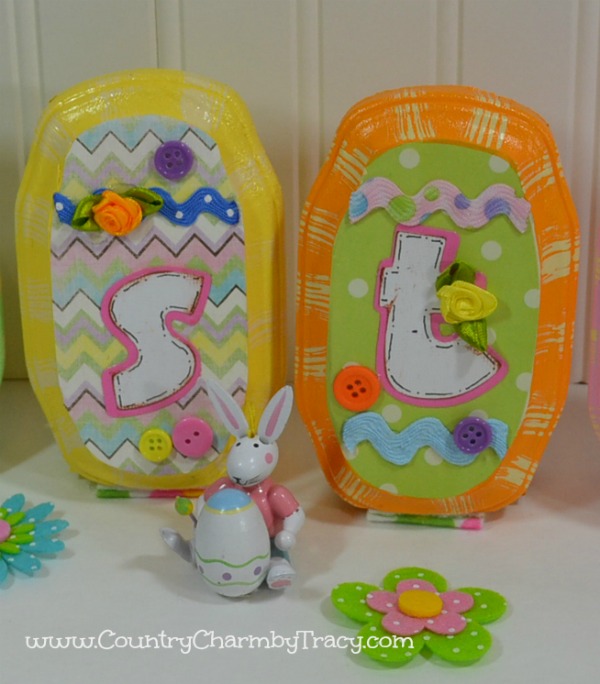
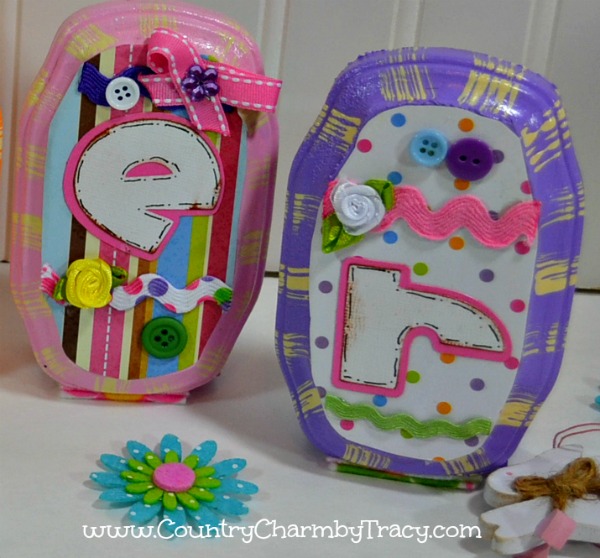
I added brown ink to the edges of each letter and doodles with a ultra fine black sharpie marker.
I embellished each egg or block by adding a variety of embellishments.
To make the plaques (blocks) sit flat I had my hubby cut a bit off of one side. He also cut me some one inch by 2 1/2 inch wood blocks that I glued on the back side of each block. Some of them didn’t sit level so I added felt to the bottom of each block. This gave me the stability I needed for the block to stand up straight or not topple over easy. 🙂  Linking to some of these parties this week ♥
Sign up for my newsletter here.
This post was first seen on Country Charm by Tracy
Related Posts
Make sure and follow me on YouTube, Facebook, Instagram and Pinterest for more Crafty Ideas!!
