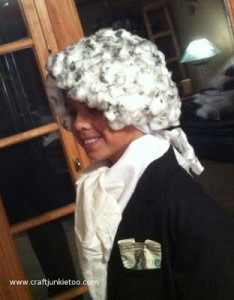
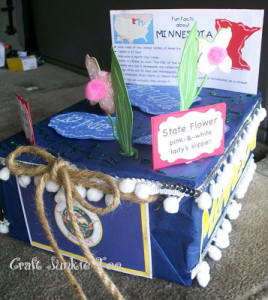
Today I am sharing our idea for Spencer’s 2nd Grade Economics Fair partly because I couldn’t find a whole lot of ideas out on Google or Pinterest when I searched. Maybe I just didn’t take enough time or search the right terms. I dunno — I’ve decided to share what his idea was so it may can help someone else. In the past I’ve shared my How to Make a George Washington Wig and 5th Grade Minnesota State Float Project and these are very popular on Google search. 🙂
Even though he is just a youngster when he brings home projects to do for class he has his own opinion of what he wants to do. Now I do agree this is what is intended but sometimes its easier if mom can help things along. When my oldest son was in grade school he would most always go along with my ideas of what he should do. He was pretty easy going and just went along with mom’s help. I didn’t realize how well that worked until Spencer comes along and puts a kink into every one of my ideas. YIKES! No way! 🙂
For the past few weeks he and his classmates have been preparing for an Economics Fair to be held at school. Each child was asked to decided on a good or service they could sell at the fair. The classes would be divided up morning and afternoon sellers/buyers and vice versa. Inventory, advertisement of goods and pricing were all factors so deciding on a good or service needed careful consideration.
Spencer had many ideas before we settled on this one but it was too expensive up front or would take too long to complete.
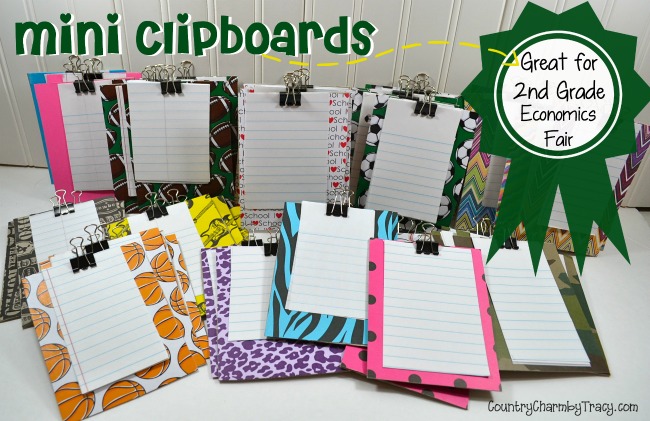
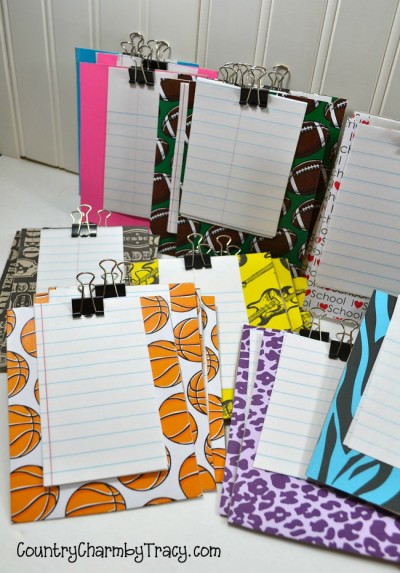
In browsing pinterest he spotted some mini clipboards and decided he would like to offer these. Using some recycled cardboard to start with kept the initial cost down. Mom borrowed him various scrapbook papers and we had notebook paper already on hand. The only item we had to purchase were the binder clips.
First he had to decide how many he wanted to make to make. We settled on 40.
I save lots of cardboard from old desk calendars and made a template rectangle the size he wanted and he and I drew lines and cut out the rectangles from cardboard.
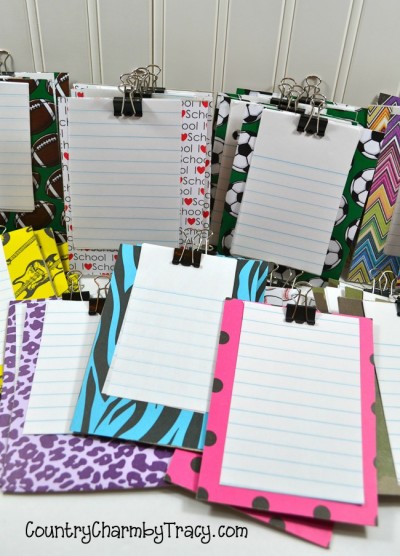
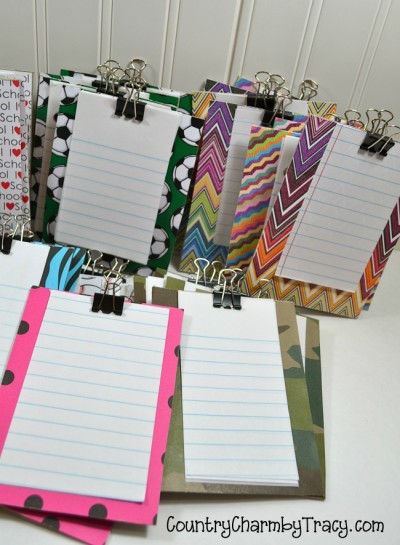
Being an 8 year old boy it took lots of convincing to add girlie pattern scrapbook paper such as polka dots, chevron, glittery…etc. and not just want camo, sports, rock and roll, etc. – you know geared just for the boys. I told him that he will have girl customers too so needed some items they would like also. He listened. yay!
Supplies:
– cardboard or chipboard cut 4 inches x 5.50 inches
– scrapbook pattern paper in various designs or colors
– adhesive (we used my Scotch Adhesive Tape Gun and it worked fantastic)
– binder clips (we used small)
– notebook paper
We just cut the cardboard first and then the scrapbook paper adhering it together with my ATG.
Seriously the possibilities are endless. The limit is just your imagination.
This post was first seen on CountryCharmbyTracy
Check out my other fun school projects
Related Posts
Make sure and follow me on YouTube, Facebook, Instagram and Pinterest for more Crafty Ideas!!




What size did you use for the binders?
Hello ~ if you mean the size of the clipboard we used 4 inches by 5.50 inches. If you mean the size of the clips we used the small ones.
Thanks,
Tracy